
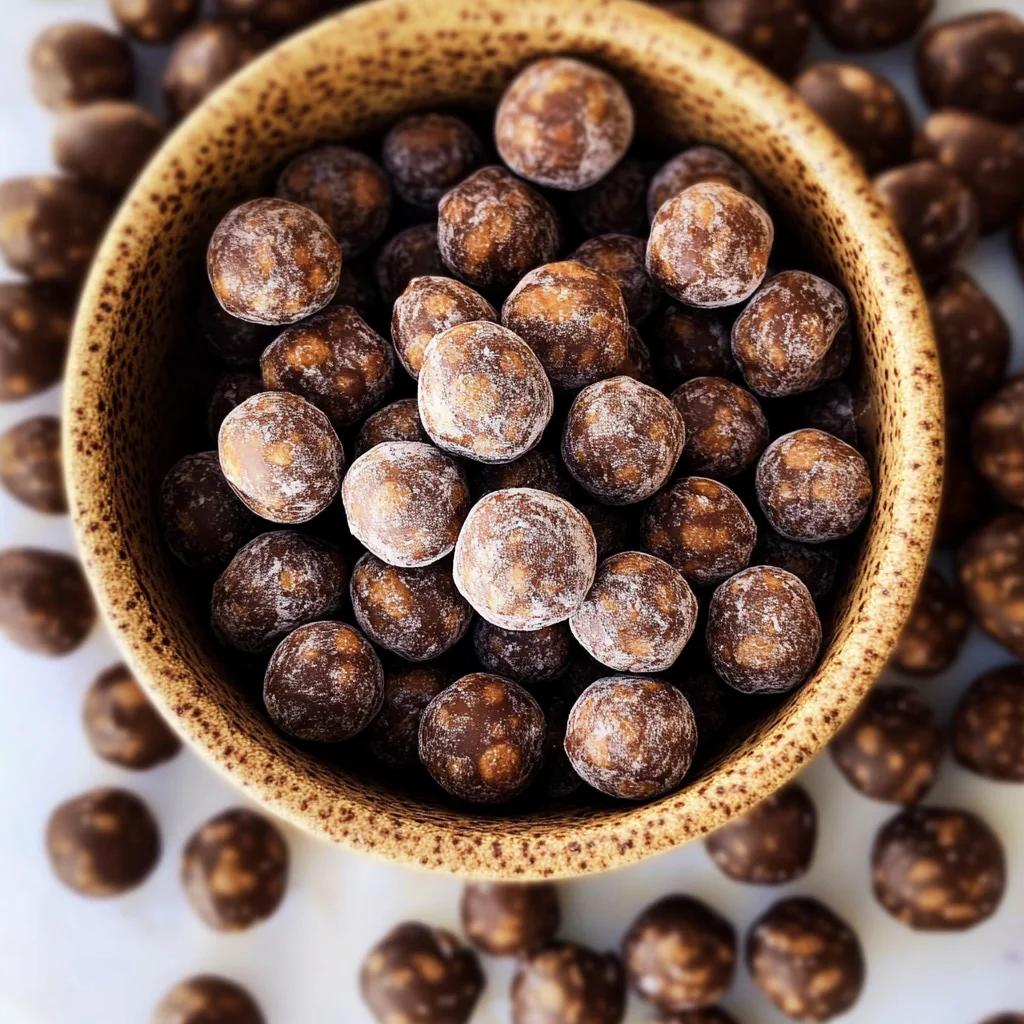
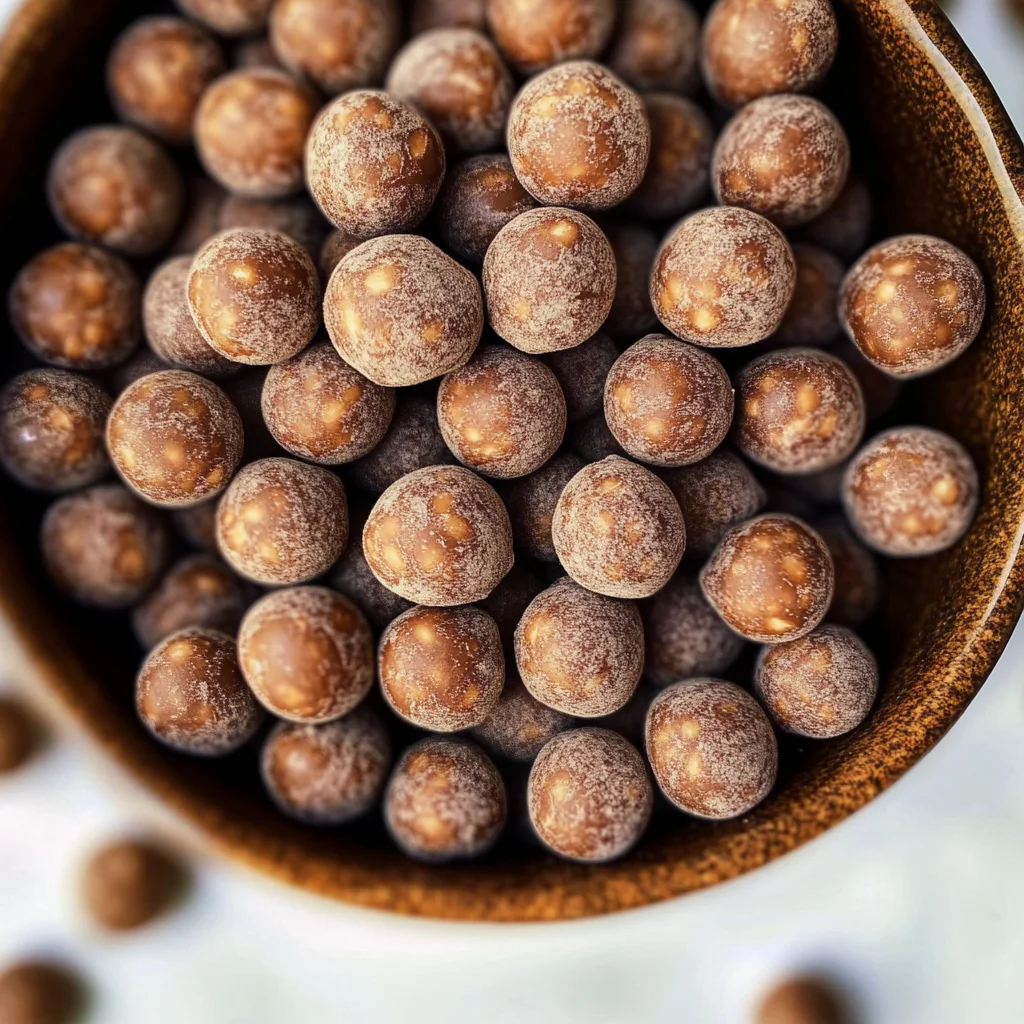
Chocolate cereal (Homemade Cocoa Puffs) is a delightful and healthy breakfast option that the whole family can enjoy. With just four simple ingredients, this gluten-free, dairy-free, and refined sugar-free cereal is not only easy to make but also packed with delicious chocolate flavor. Whether you’re looking for a quick breakfast or a tasty snack, these homemade cocoa puffs are perfect for any occasion!
Why You’ll Love This Recipe
- Quick Preparation: This chocolate cereal can be made in just 30 minutes, making it a great choice for busy mornings.
- Wholesome Ingredients: With only four ingredients, you can feel good about what you’re eating.
- Customizable: You can easily switch up the nut/seed butter or add your favorite toppings like dried fruits or nuts.
- Kid-Friendly: Both kids and adults will love the fun shape and chocolatey taste of these cocoa puffs.
- Healthy Alternative: This recipe avoids refined sugars and unhealthy additives often found in store-bought cereals.
Tools and Preparation
To make this homemade chocolate cereal, you’ll need some essential tools to ensure everything goes smoothly.
Essential Tools and Equipment
- Mixing bowl
- Spoon
- Baking sheet
- Parchment paper or silicone mat
- Knife
Importance of Each Tool
- Mixing bowl: A spacious bowl allows you to thoroughly combine all ingredients without mess.
- Baking sheet: A sturdy baking sheet helps evenly cook the cereal balls for consistent texture.
- Parchment paper or silicone mat: These prevent sticking and make cleanup a breeze.
Ingredients
This healthy chocolate cereal has just 4 ingredients and is gluten-free, dairy-free, and refined sugar-free, made with simple, wholesome pantry staples. Both kids and adults will love these homemade cocoa puffs!
For the Chocolate Cereal
- 2/3 cup oat flour (gluten-free if needed)
- 3 Tbsp maple syrup (or any other liquid sweetener)
- 3 1/2 Tbsp nut/seed butter (of choice)
- 2 1/2 Tbsp cocoa powder (or cacao powder)
How to Make Chocolate Cereal (Homemade Cocoa Puffs)
Making your own chocolate cereal is straightforward. Just follow these steps!
Step 1: Combine Wet Ingredients
- In a mixing bowl, combine the nut/seed butter and maple syrup. Stir well with a spoon until fully mixed.
Step 2: Add Dry Ingredients
- Add the oat flour and cocoa powder. Mix again until combined.
Step 3: Form the Dough
- Use your hands to shape the mixture into a dough.
- If it feels too dry, add more maple syrup or nut/seed butter. If it’s too wet, incorporate more oat flour, one teaspoon at a time.
Step 4: Preheat Oven
- Preheat your oven to 320 °F (160 °C).
- Line a large baking sheet with parchment paper or a silicone mat.
Step 5: Shape the Cereal
- Divide the dough into four pieces.
- Roll each piece into ropes about 1 inch thick.
- Cut each rope into smaller pieces, about ½-¾ inch thick.
- Roll each piece into balls using your hands; aim for about 120-140 balls total.
Step 6: Bake
- Place the cereal balls on the baking sheet with space between them.
- Bake for about 10 minutes; they should still be soft immediately out of the oven but will firm up as they cool.
- Allow them to cool completely before enjoying!
Step 7: Serve
- Enjoy your chocolate cereal balls with your favorite dairy-free milk or topped with fresh fruit!
How to Serve Chocolate Cereal (Homemade Cocoa Puffs)
There are many delicious ways to enjoy your homemade chocolate cereal. Whether you prefer a classic serving or something a bit more creative, these suggestions will help you savor every bite.
With Dairy-Free Milk
- Almond Milk: A nutty flavor enhances the chocolate taste.
- Coconut Milk: Adds a creamy texture and tropical twist.
- Oat Milk: A great match for the oat flour, keeping it gluten-free.
Topped with Fresh Fruits
- Bananas: Sliced bananas pair well with chocolate, adding natural sweetness.
- Berries: Strawberries or blueberries offer a fresh burst of flavor and antioxidants.
- Apples: Chopped apples add crunch and a hint of tartness.
As a Snack
- On-the-go: Pack them in a small container for a quick snack during the day.
- Mixed Nuts: Combine with your favorite nuts for added protein and crunch.
In Yogurt Parfaits
- Layered Delight: Add chocolate cereal to dairy-free yogurt with fruits for an indulgent parfait.
How to Perfect Chocolate Cereal (Homemade Cocoa Puffs)
Making the perfect chocolate cereal is all about attention to detail. Here are some tips to ensure your cocoa puffs turn out just right.
- Mix Thoroughly: Ensure that the nut/seed butter and sweetener blend well before adding dry ingredients for even flavor distribution.
- Adjust Consistency: If your dough feels too dry, add more maple syrup; if it’s too wet, sprinkle in more oat flour gradually.
- Uniform Size: Try to roll the cereal balls into uniform sizes for even baking and consistent texture.
- Watch the Baking Time: Keep an eye on them while they bake; they can burn quickly if left unattended.
- Cool Completely: Allow the cocoa puffs to cool fully on the baking sheet before storing to maintain their crunchiness.
Best Side Dishes for Chocolate Cereal (Homemade Cocoa Puffs)
Pairing side dishes with your chocolate cereal can elevate your meal experience. Here are some tasty options to consider.
- Fruit Salad: A colorful mix of seasonal fruits adds freshness and complements the rich chocolate flavor.
- Nut Butter Toast: Spread almond or peanut butter on whole-grain toast for a filling side that balances sweetness.
- Smoothie Bowl: A thick smoothie topped with granola can be a refreshing complement to chocolate cereal.
- Chia Seed Pudding: Creamy pudding made from chia seeds offers healthy fats and pairs nicely with cocoa puffs.
- Oven-Roasted Veggies: For a savory twist, serve roasted vegetables alongside your breakfast for a nutritious balance.
- Granola Bars: Homemade granola bars can provide extra crunch and make for a satisfying snack option throughout the day.
Common Mistakes to Avoid
Making homemade chocolate cereal can be fun, but certain mistakes can affect the outcome. Here are some common pitfalls to watch out for:
- Not measuring ingredients accurately: Precision is key in baking. Use measuring cups and spoons for the best results.
- Skipping the cooling step: Allowing the cereal to cool completely helps it firm up. Skipping this can lead to a soggy texture.
- Overbaking the cereal: Keep an eye on your cereal while it bakes. Overbaking can cause it to burn and lose flavor.
- Ignoring consistency of dough: If your dough is too dry or wet, adjust with additional maple syrup or oat flour as needed.
- Using low-quality cocoa powder: The quality of cocoa powder impacts the flavor. Opt for high-quality cocoa for richer taste.
Refrigerator Storage
- Store your chocolate cereal in an airtight container.
- It will stay fresh in the refrigerator for up to 1 week.
Freezing Chocolate Cereal (Homemade Cocoa Puffs)
- Place the cooled chocolate cereal in a freezer-safe container.
- It can be frozen for up to 3 months without losing taste or texture.
Reheating Chocolate Cereal (Homemade Cocoa Puffs)
- Oven: Preheat to 300°F (150°C) and warm for about 5 minutes until crispy.
- Microwave: Heat in short increments of 10-15 seconds to avoid making them soggy.
- Stovetop: Use a non-stick skillet on low heat, stirring gently until warmed through.
Frequently Asked Questions
How long does it take to make Chocolate Cereal (Homemade Cocoa Puffs)?
The total time required is around 30 minutes, including prep and cooking.
Can I use different nut/seed butter?
Yes! You can substitute with any nut or seed butter you prefer, such as almond or sunflower seed butter.
Is this chocolate cereal gluten-free?
Absolutely! Just ensure you use gluten-free oat flour to keep this recipe gluten-free.
How should I serve Chocolate Cereal (Homemade Cocoa Puffs)?
Enjoy these cocoa puffs with your favorite dairy-free milk or as a topping for yogurt.
Final Thoughts
This Chocolate Cereal (Homemade Cocoa Puffs) recipe is not only simple but also offers great versatility. Feel free to customize it by adding nuts, seeds, or dried fruits for added flavor and nutrition. Give this healthy treat a try—you’ll love how easy and delicious it is!

Chocolate Cereal (Homemade Cocoa Puffs)
- Total Time: 30 minutes
- Yield: Approximately 20 servings 1x
Description
Indulge in a delightful start to your day with this Homemade Chocolate Cereal, reminiscent of classic cocoa puffs but made healthier! With just four simple ingredients, this gluten-free and refined sugar-free cereal offers a delicious chocolate flavor that both kids and adults will love. Perfect for busy mornings or as a snack, these nutritious chocolate balls are easy to prepare and versatile enough for any meal. Customize them with your favorite nut/seed butter or toppings like fruits and nuts to create a breakfast that satisfies your cravings while keeping it wholesome. Enjoy this quick and delightful treat that brings joy to every bite!
Ingredients
- 2/3 cup oat flour (gluten-free if needed)
- 3 Tbsp maple syrup (or any liquid sweetener)
- 3 1/2 Tbsp nut/seed butter (of your choice)
- 2 1/2 Tbsp cocoa powder (or cacao powder)
Instructions
- In a mixing bowl, combine the nut/seed butter and maple syrup until well mixed.
- Add the oat flour and cocoa powder; stir until fully combined.
- Shape the mixture into dough; adjust consistency with more maple syrup or oat flour if needed.
- Preheat your oven to 320°F (160°C) and line a baking sheet with parchment paper.
- Divide the dough into four pieces, roll each into ropes about 1 inch thick, then cut into smaller pieces and roll into balls.
- Bake for approximately 10 minutes until soft but firm upon cooling.
- Serve with dairy-free milk or fresh fruits.
- Prep Time: 15 minutes
- Cook Time: 15 minutes
- Category: Breakfast
- Method: Baking
- Cuisine: American
Nutrition
- Serving Size: 1 serving
- Calories: 120
- Sugar: 4g
- Sodium: 1mg
- Fat: 7g
- Saturated Fat: 1g
- Unsaturated Fat: 5g
- Trans Fat: 0g
- Carbohydrates: 12g
- Fiber: 2g
- Protein: 3g
- Cholesterol: 0mg